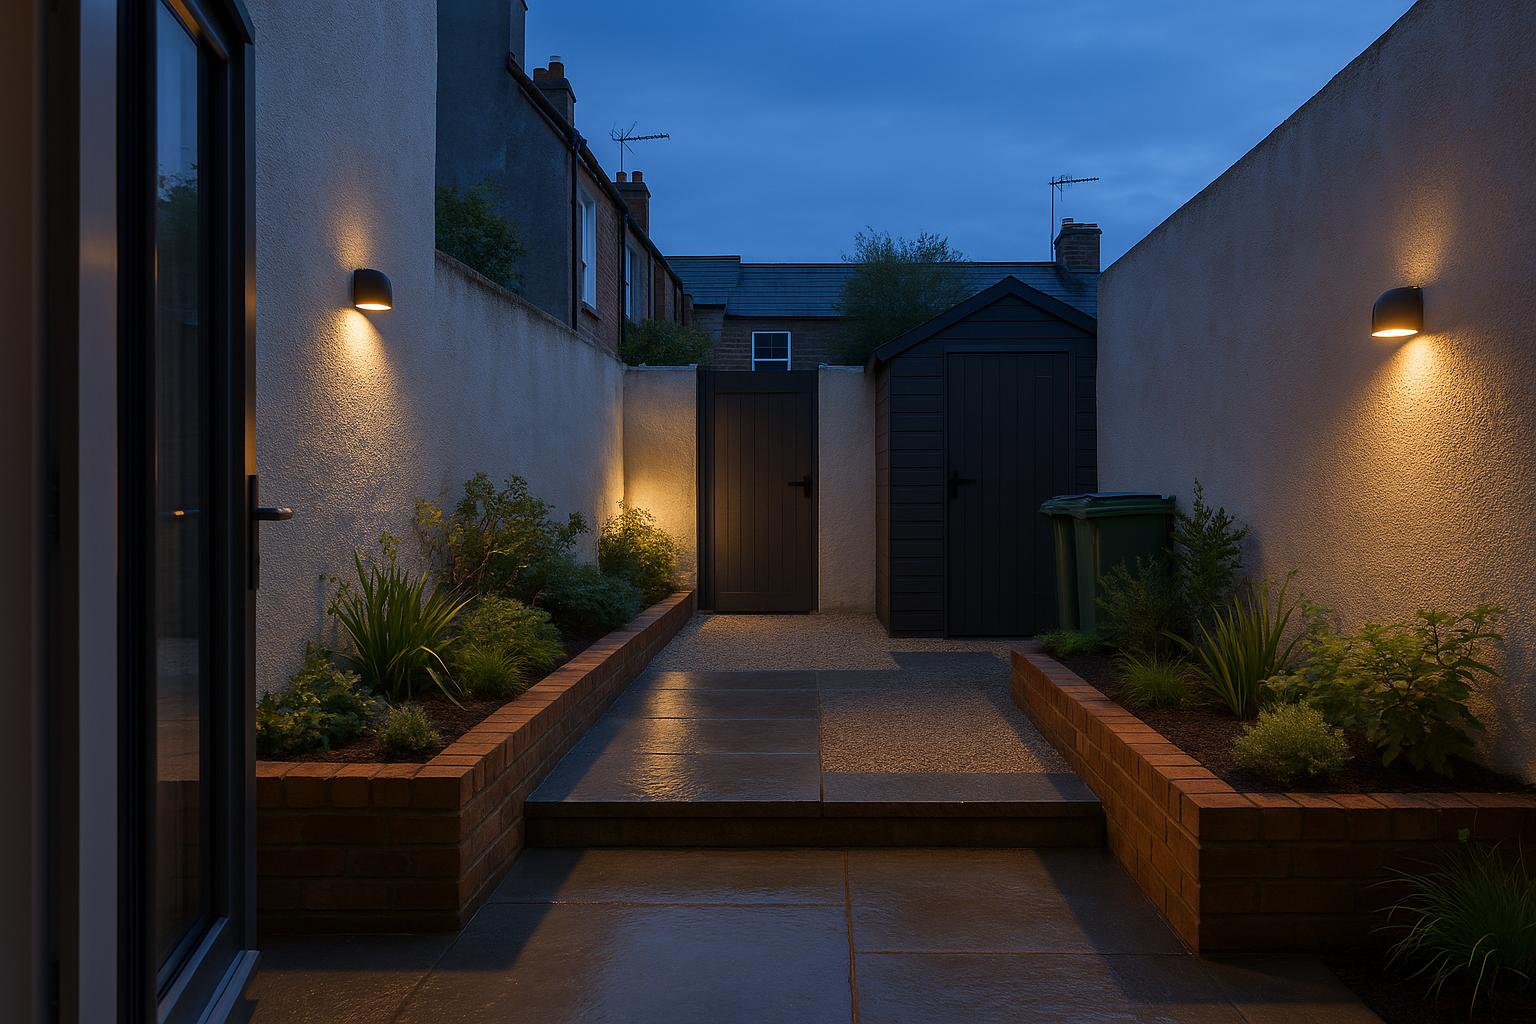
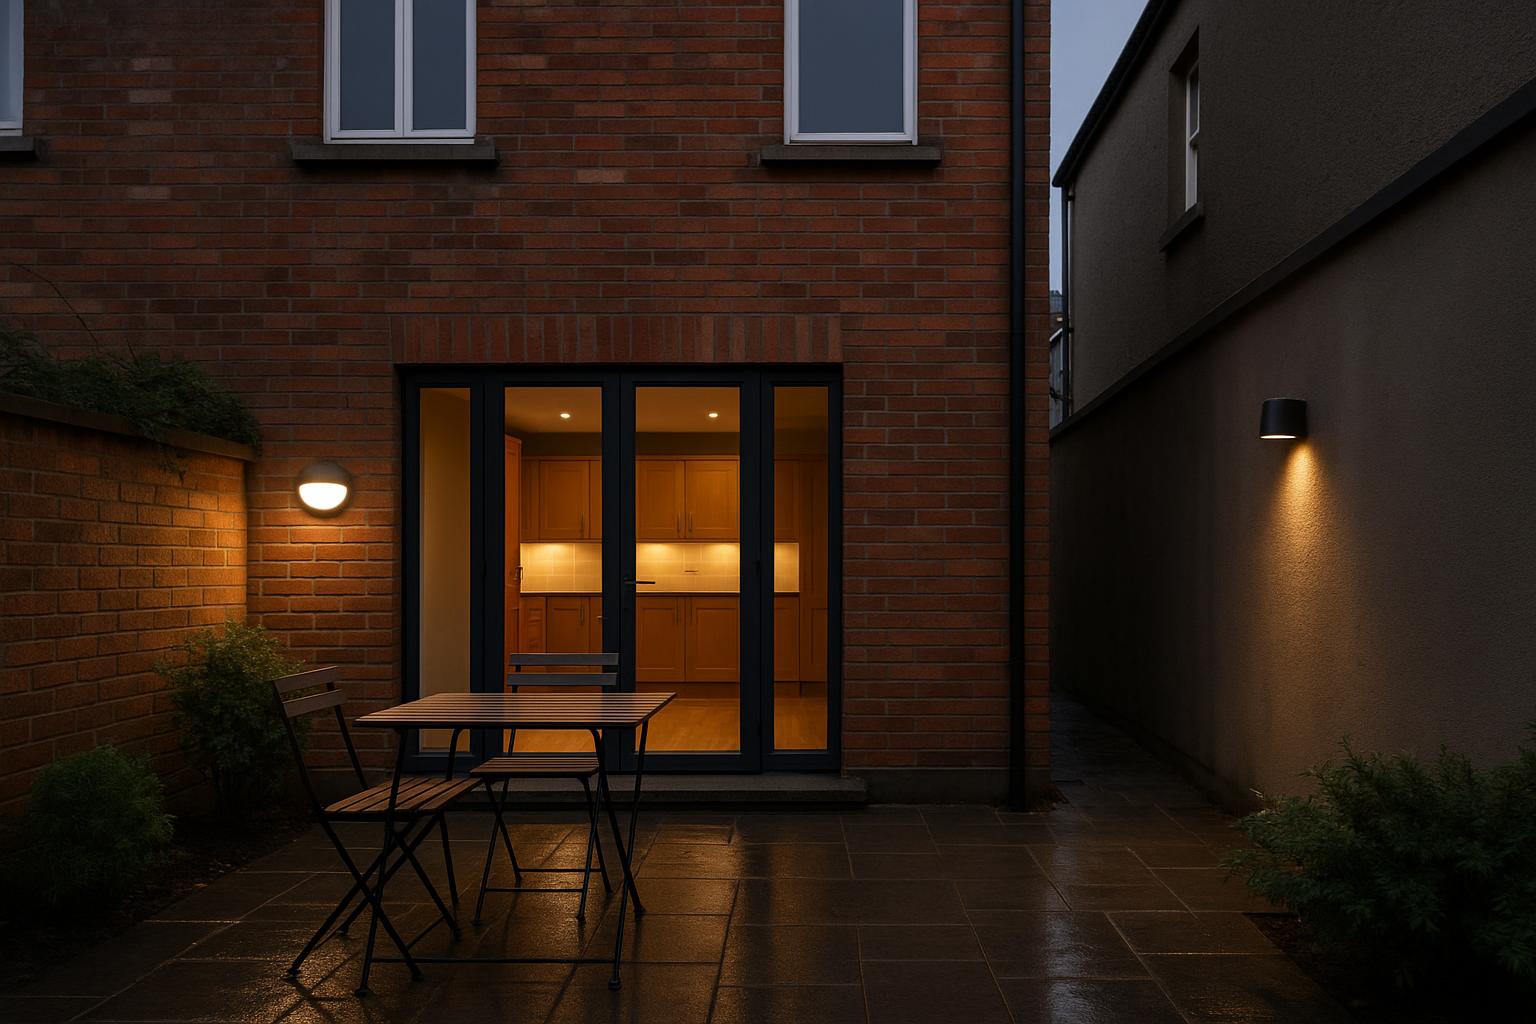
Good boundary lighting reveals the parts of a garden that people use while leaving unnecessary brightness out of the...
- There are no more items in your cart
- Shipping
- Total €0.00
Keep the Light at the Garden Edge
A boundary wall does not need to be evenly illuminated to make a garden safer or more inviting. What matters is whether the gate can be found, the path can be followed and the patio feels comfortable. Light should support those jobs without turning the wall into a bright strip around the property.
Choosing garden wall lights for garden wall boundaries therefore starts with the ground, doors and seating nearby. The wall is the mounting surface, but the useful result often appears somewhere else: on a step, across a section of paving or beside a latch. Planning those lit areas first usually leads to fewer fittings and a calmer view.
Mark the useful parts of the boundary
Make a simple sketch showing the house, wall, paths, patio, shed, bins, steps and gates. It does not need to be accurately drawn. Its purpose is to show where somebody walks, pauses or needs to operate a lock after dark.

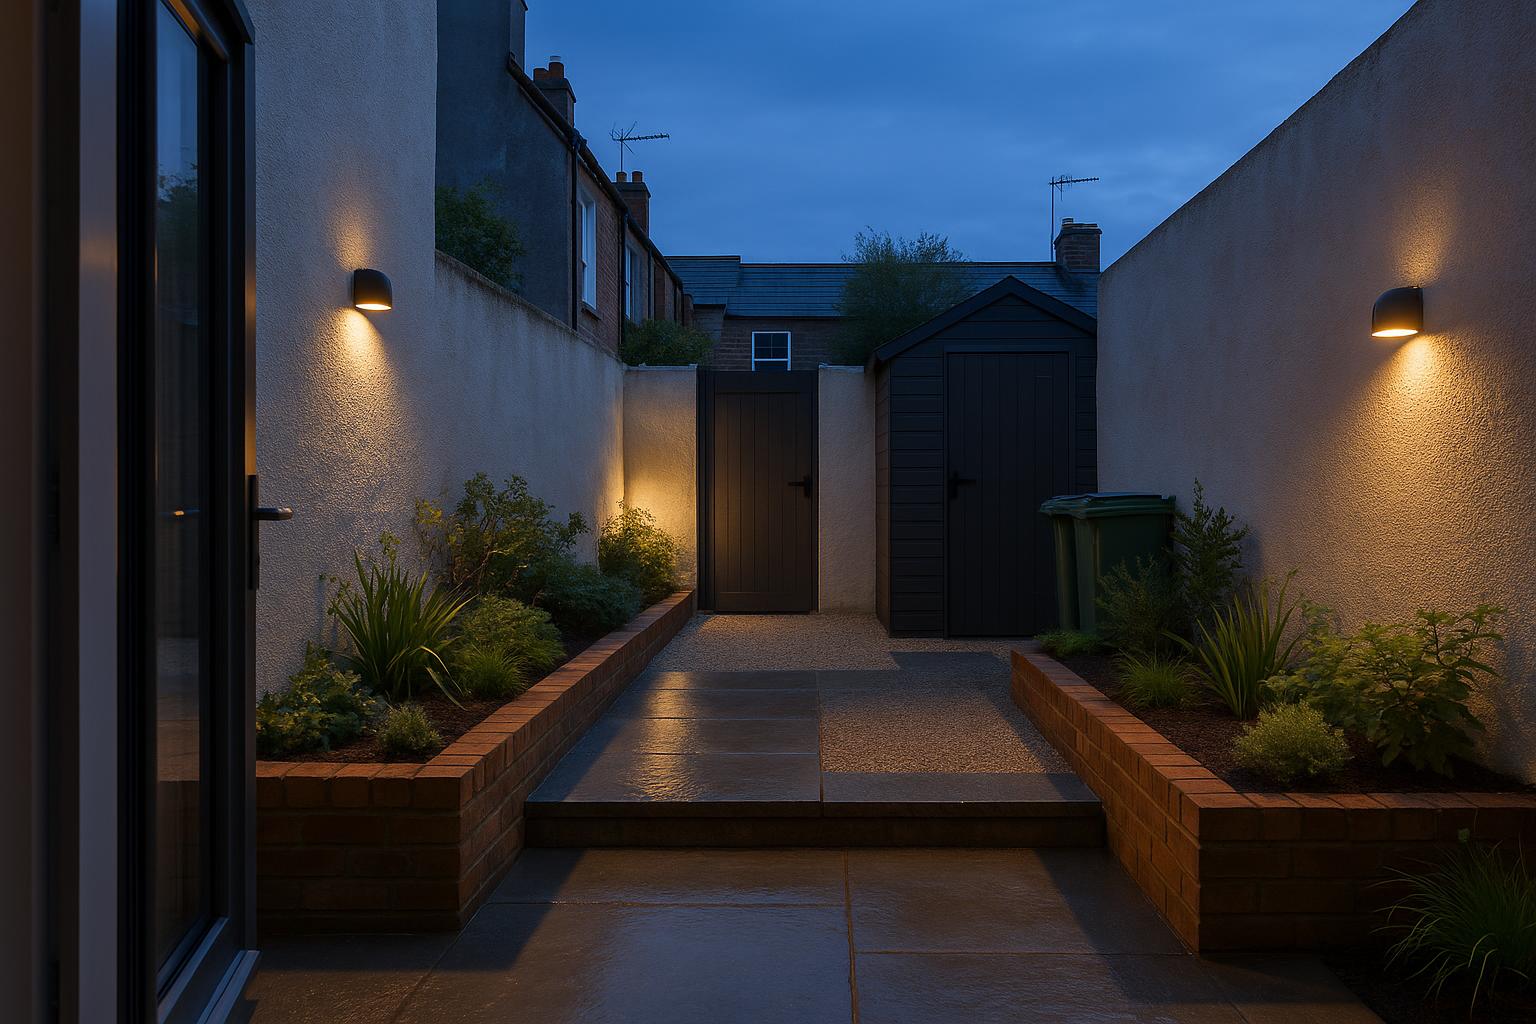
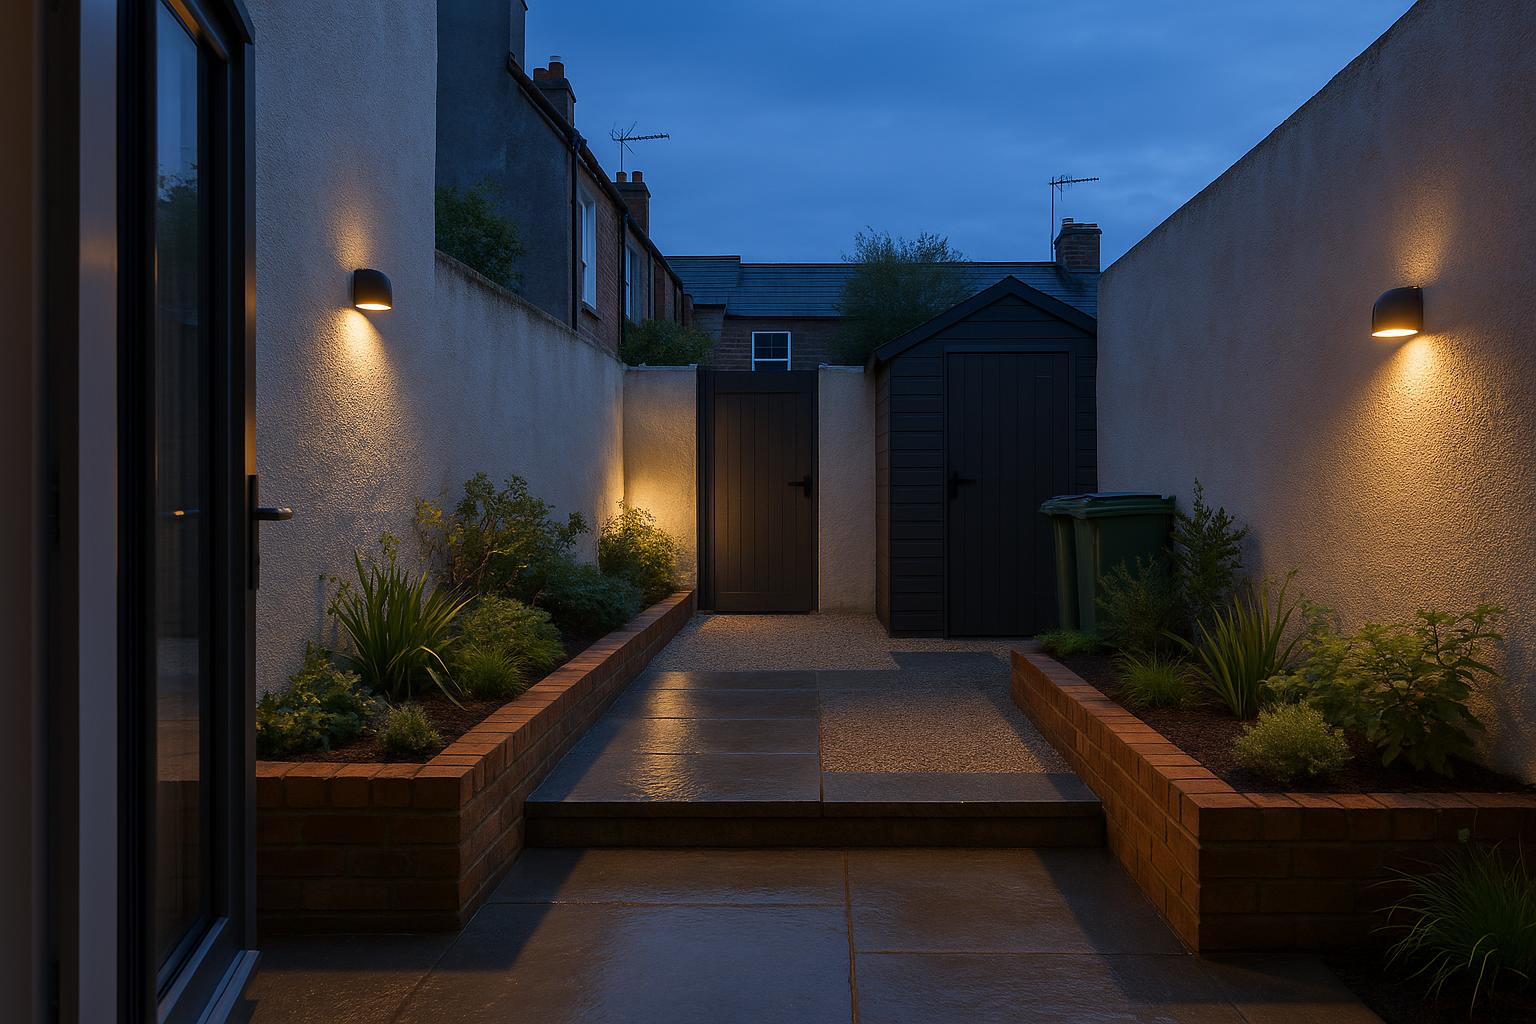
Pay particular attention to changes. A turn into a side passage, a single step beside a raised bed or the point where paving becomes gravel deserves more consideration than an uninterrupted length of wall. The far end of a compact garden may benefit from one gentle area of light because it gives the view depth from a kitchen-diner or sitting room.
Do not assume that every marked location needs a wall light. A fitting beside the back door may already reach part of the patio, while a shed light may cover the final section of a route. Add the existing light to the sketch before filling perceived gaps.
Give every fitting a defined patch to light
Write a short purpose beside each proposed fitting. Useful descriptions include illuminate the gate latch, show the path bend, reveal the step and soften the wall behind the table. Avoid vague labels such as brighten the garden. A fitting without a defined task is difficult to position and even harder to assess.
Think in terms of overlapping patches rather than a row of bright points. A downward beam can place useful light on paving while keeping the source less prominent. A wider, diffused exterior wall light may be more comfortable near a patio, provided it does not shine directly towards seated faces. A narrow beam can pick out a pier or section of planting without washing the entire boundary.
There is no universal spacing rule that suits every garden wall. Beam width, mounting position, wall colour and the distance to the path all affect the result. Repeating fittings at equal intervals simply because the wall is long can produce a runway effect and may leave the places that matter poorly lit.
Let the wall surface influence the beam
The same fitting can behave very differently on pale render and dark brick. Light reflected from cream or white render may appear stronger than expected, especially in a small Dublin back garden enclosed by high surfaces. Dark brick absorbs more of the output, but that does not automatically justify a much brighter lamp. A broader beam or a second, lower-output fitting may be easier on the eye.
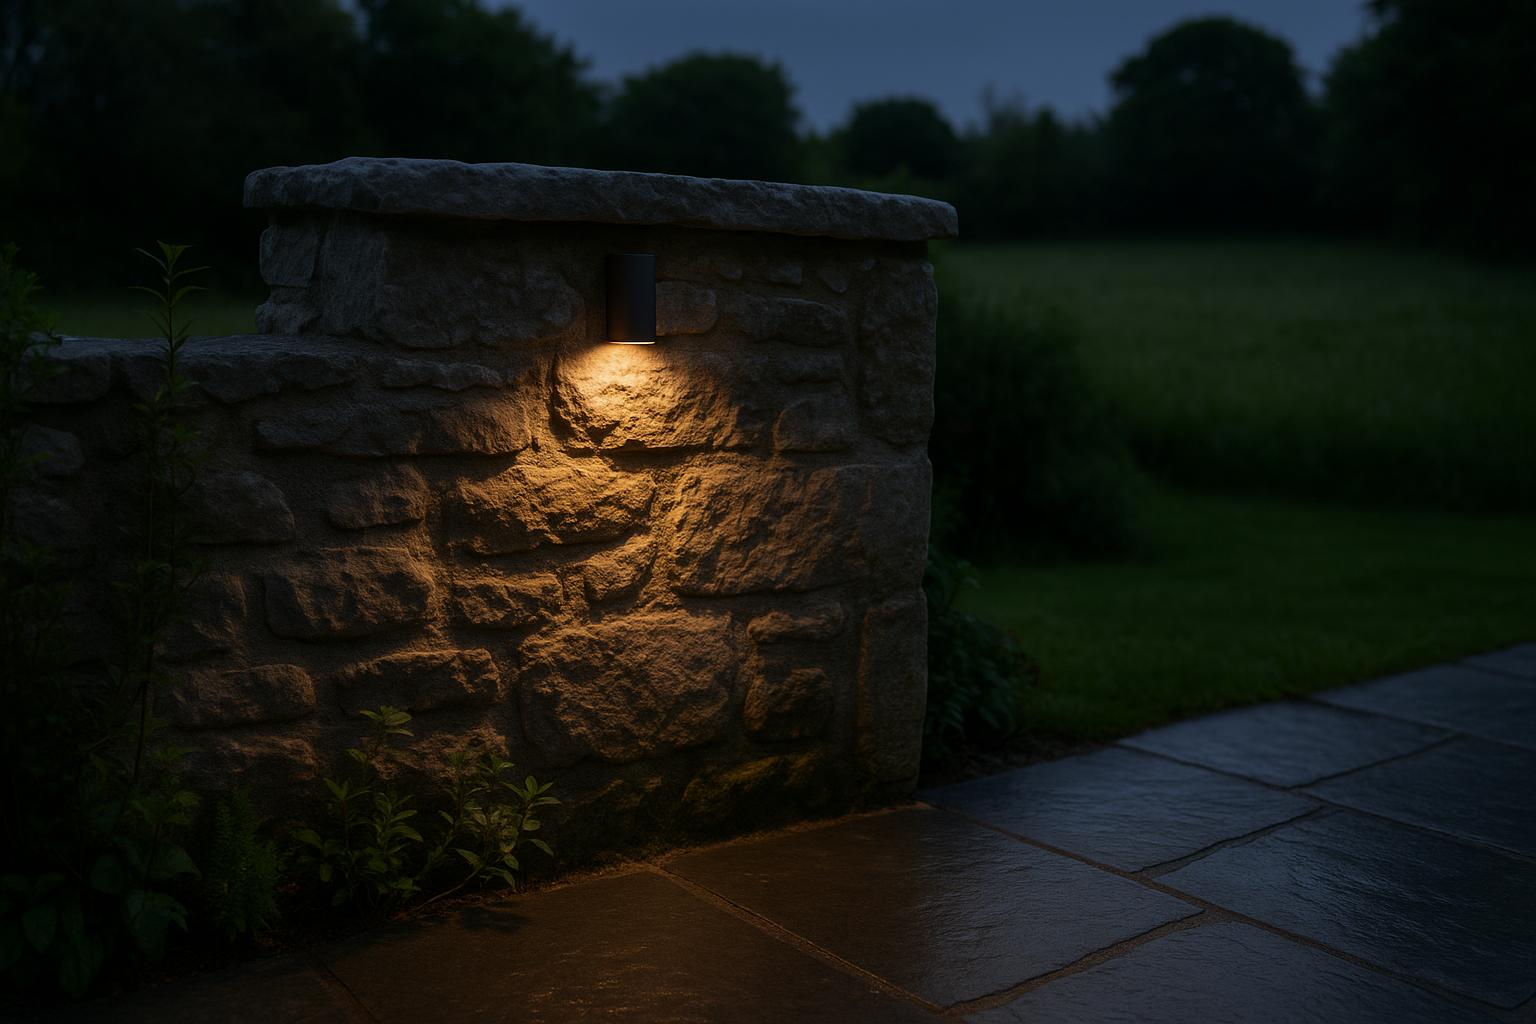
Rough stone creates pronounced highlights and shadows when light travels close across it. This grazing effect can give a converted farmhouse or rural cottage plenty of character, although it may become visually restless behind an outdoor dining table. If texture is the main attraction, reserve that treatment for one section rather than repeating it along every wall.
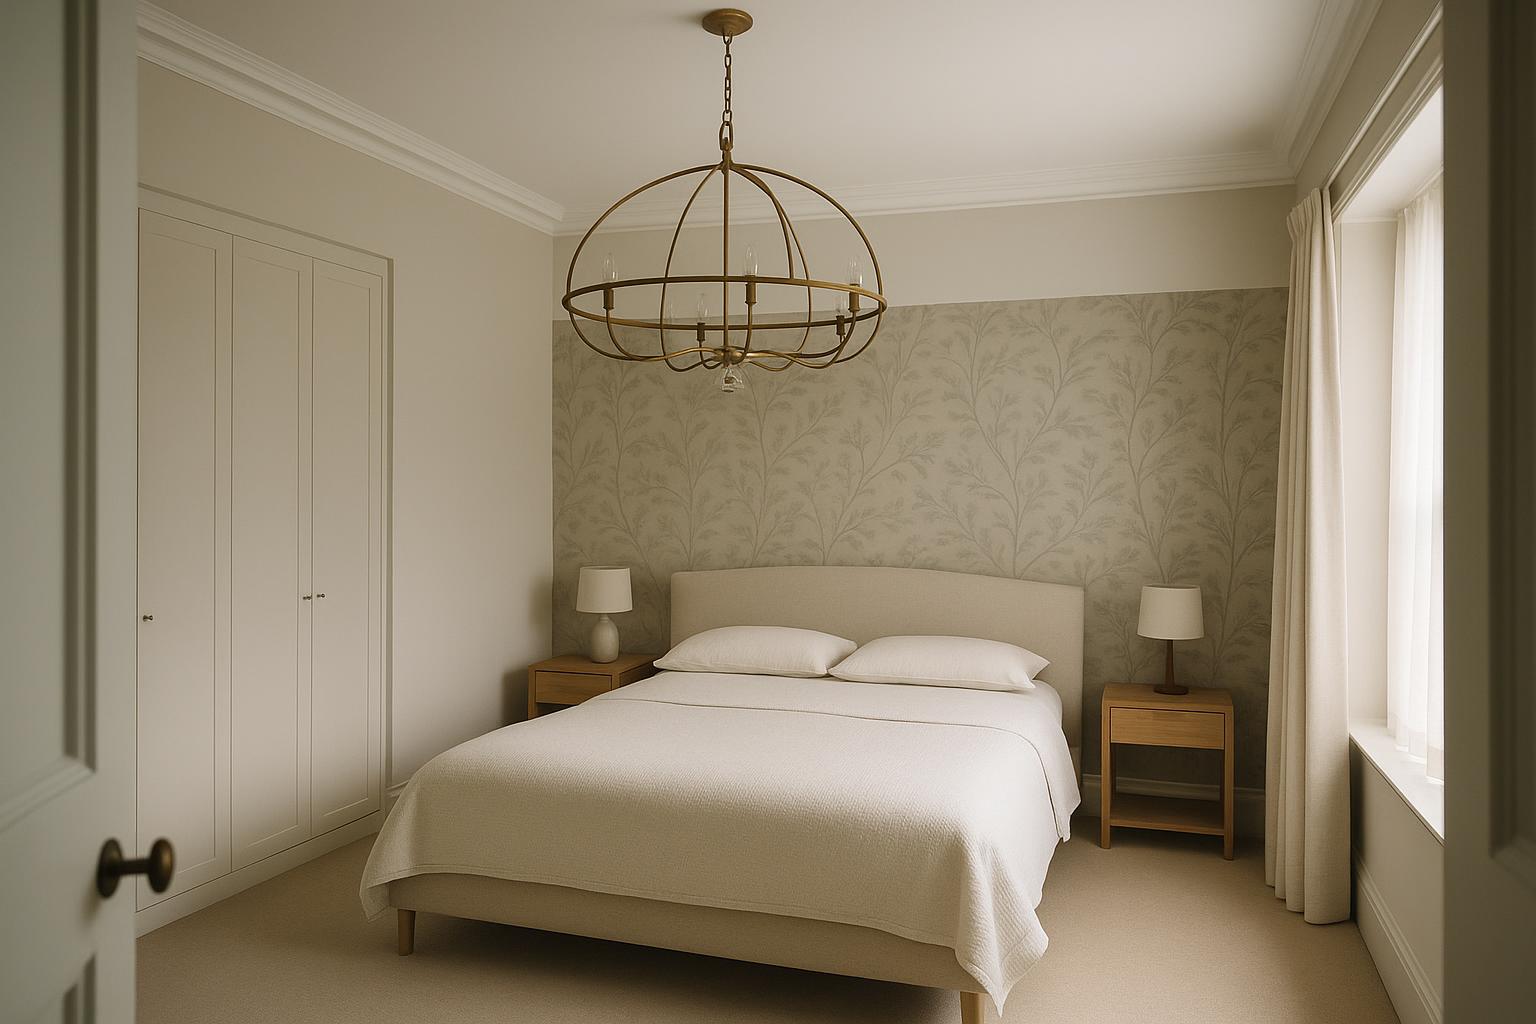
To complement this topic, you can also read The View from the Pillow: Crystal Lighting for a Calm Bedroom.
Look for physical obstructions before settling on a position. Coping stones, deep mortar joints, downpipes, trellis, wall caps and mature climbers can cut through a beam. Newly planted climbers also need room to develop without covering the fitting or making routine cleaning awkward.
Check glare from seats and windows
A wall light can look discreet when viewed straight on and still create uncomfortable glare from the side. Test the important sightlines at the height from which they will actually be seen. Sit at the patio table, stand at the barbecue and look through the kitchen glazing from the usual indoor chair.

Seated eye level is especially important. A source mounted above standing eye level may remain fully visible to someone reclining on garden furniture. Outdoor garden lighting near a table should support conversation and movement rather than becoming the brightest object in view.
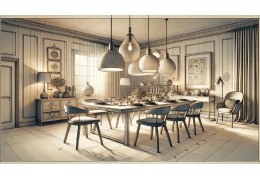
Glazing introduces another issue. On darker winter afternoons, exterior lights may be used while the household remains indoors. A badly aimed fitting can reflect in glazed doors or compete with a pendant light inside the kitchen-diner. Lighting a far wall softly often creates a better outlook than placing a strong light directly outside the glass.
Check neighbouring sightlines as well. Narrow urban gardens and low side boundaries make spill more noticeable. Directing light towards your own wall and paving helps preserve privacy and keeps unnecessary output away from windows and open sky.
Choose for the actual outdoor exposure
The word outdoor is not a complete specification. A wall light beneath a substantial canopy faces different conditions from one fixed to an exposed west-facing boundary. Wind-driven rain, water running from coping stones and persistent damp all influence where a fitting can sensibly be mounted.
Check the manufacturer's declared protection rating, permitted mounting orientation and installation instructions against the proposed location. Do not rotate a fitting or alter its intended position merely to redirect the beam unless the instructions allow it. Seals, cable entries and drainage arrangements depend on correct installation.
In the same direction, Read the Wall, Then Choose the Light offers useful ideas for choosing home lighting more confidently.
Finish durability also deserves attention, particularly in exposed coastal areas. Product information should confirm whether the material and finish are suitable for the setting. Appearance alone is not evidence that two similar exterior wall lights will withstand the same conditions.
Fixed outdoor electrical work should be assessed and completed by an appropriately qualified electrical contractor. Agree cable routes, switching and mounting surfaces before finishes or planting make access difficult. The best-looking position is of little use if it cannot be wired and secured correctly.
Separate practical and social lighting
A route to the bins or utility door has a different pattern of use from a patio. Combining everything on one switch often means that the full garden is lit for a short practical trip, or that the patio must remain brighter than desired during a meal.
Where the electrical design allows, divide the scheme into useful groups. One circuit might cover the back door, side passage and gate, while another controls patio wall lights and the distant boundary feature. This makes it possible to use only the light needed at a given time.
Timers, sensors and compatible smart controls can help, but they should solve a real routine rather than complicate it. A sensor near swaying planting or a neighbouring access route may trigger more often than intended. Its coverage and adjustment options should be checked before the final position is fixed.
Consider how the garden is used in winter as well as during summer evenings. Practical route lighting may need quick, convenient operation throughout the year. Decorative landscape lighting is more likely to be used selectively, perhaps to improve the view from indoors or when the patio is occupied.
For more consistent lighting throughout the home, the article A Bathroom Lighting Plan That Works Morning and Night may also be helpful.
Test the arrangement after dark
Mark proposed mounting points with removable templates so that the physical scale can be judged in daylight. Then return after dark with portable or battery-powered lights. These will not reproduce the exact beam or brightness of a permanent product, but they can reveal obvious problems with direction, spacing and sightlines.
Walk every route at a normal pace. Open the gate, handle the bins, use the shed path and sit at the table. Look for dark steps, sudden changes in brightness and sources that become visible as you turn a corner. A useful test is whether the ground can be read without the wall itself becoming the dominant feature.
Finish the trial indoors. Switch on the usual kitchen or sitting-room lights and check the garden through the glass. Reflections can change once the interior is lit. Photographs may help compare alternative positions, although a phone camera should not be treated as an accurate measure of brightness.
Order for the plan, not the wall length
Once each position has a clear purpose, compare fittings by beam direction, dimensions, finish, outdoor suitability and installation requirements. Confirm whether the light source is replaceable or integrated, how the fitting is maintained and whether controls proposed by the electrician are compatible.

Use the same finish or a related shape where visual continuity matters, but do not force one model to perform every task. A shielded downward light beside a path and a softer diffused fitting near seating can belong to the same scheme without being identical.
You can then browse garden wall lights with a practical shortlist rather than buying according to wall length alone. A restrained plan should make routes legible, seating comfortable and the boundary present without erasing the darker parts that give a garden depth.